
Maintenance
How-to guideLiftMaster 893LM Programming Guide: Sync Your 3-Button Remote
September 20, 2026 · Prime Garage Doors
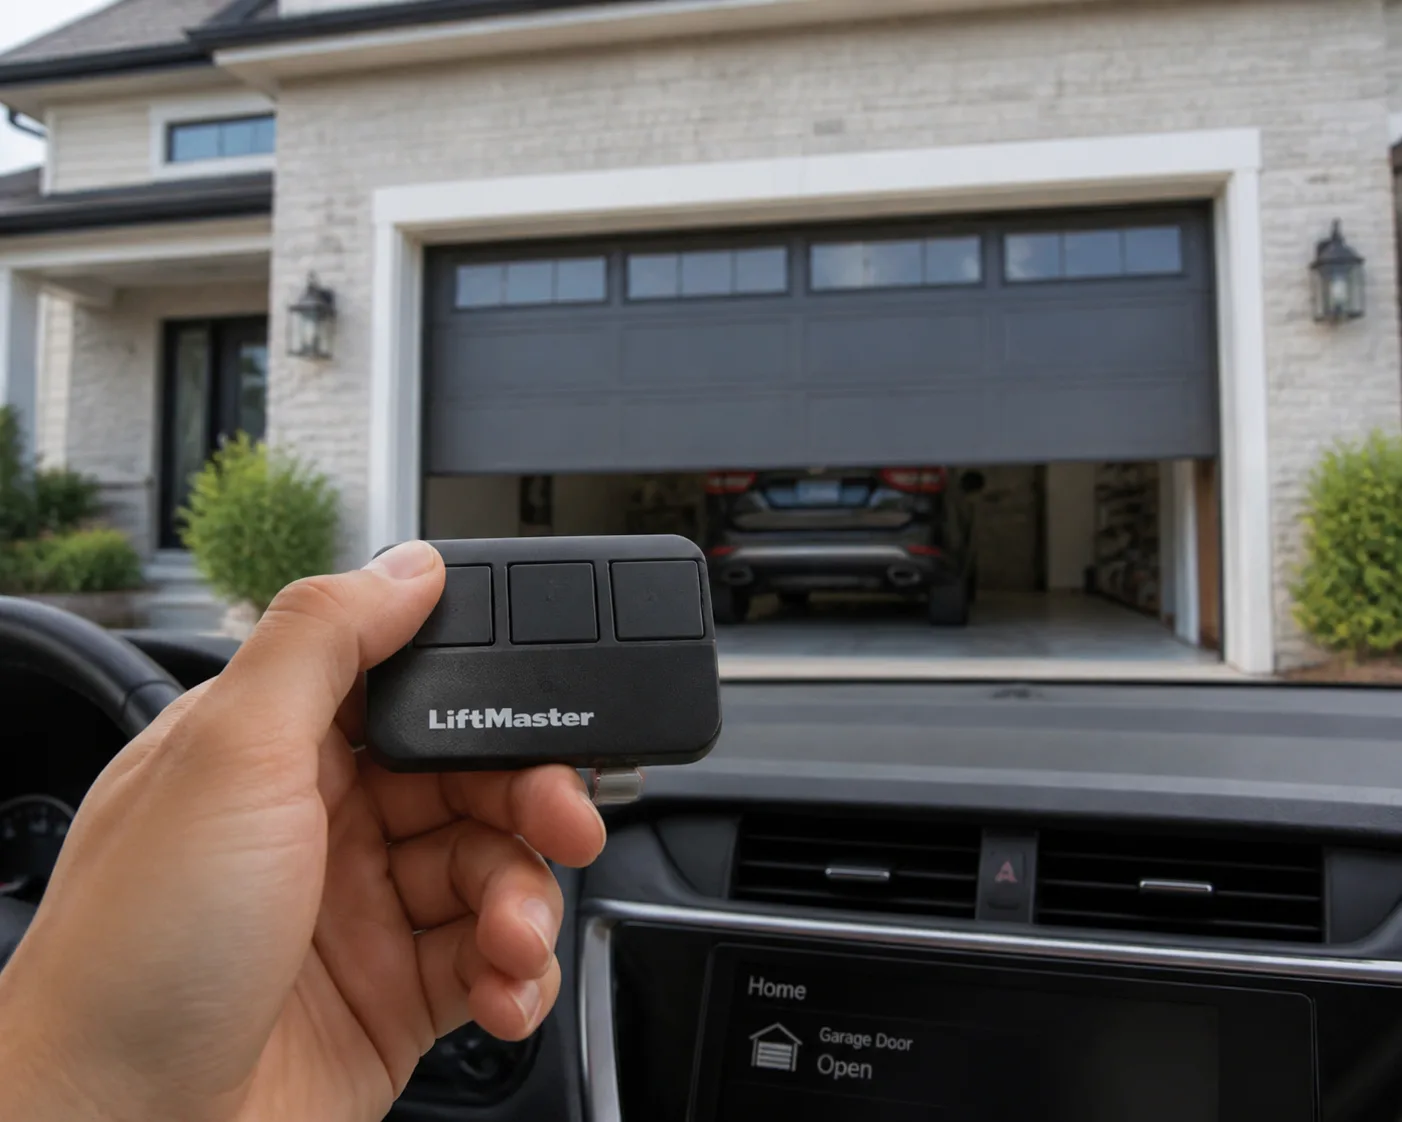
Need help with LiftMaster 893LM programming? Read our quick step-by-step guide to program liftmaster 893lm remotes safely using your overhead motor unit.
Programming a LiftMaster 893LM 3-button remote control requires syncing the handheld transmitter directly with your garage door opener's logic board using the Yellow Learn button. This Security+ 2.0 remote operates on tri-band frequencies (310 MHz, 315 MHz, and 390 MHz) to safely open up to three motorized overhead doors or gate operators. Homeowners across Greater Boston can complete the pairing process in under two minutes by placing the opener into learn mode and activating the chosen transmitter button within a 30-second window.
Understanding the LiftMaster 893LM Remote and Security+ 2.0 Technology
The LiftMaster 893LM is a multi-function visor transmitter engineered for residential overhead garage doors and commercial gate access systems. Unlike older fixed-code transmitters, the 893LM utilizes Security+ 2.0 rolling code radio signals. Every time you press a button on the remote, the internal microchip calculates a completely new encrypted code from billions of possible combinations. This dynamic signal prevents code interception and unauthorized access, keeping your home secured against physical and electronic intrusion.
Before attempting to pair your device, it is vital to verify hardware compatibility. The 893LM works exclusively with garage door openers manufactured after 2011 that feature a round yellow learn button and rigid yellow antenna wires. If your motor housing contains a purple, red, orange, or green learn button, this specific transmitter model will not communicate with your logic board. In those cases, you would either need a universal remote series or professional assistance to fix garage door receiver mismatch issues.
Environmental factors in New England can occasionally impact how wireless access controls communicate with the overhead drive motor. Cold winter snaps in Greater Boston can lower the voltage output of standard CR2032 lithium coin-cell batteries, causing sudden range reduction or loss of synchronization. Additionally, structural steel beam construction, thick foil-faced insulation panels, or nearby radio frequency interference can affect signal transmission. Whether you need help setting up new access accessories, replacing damaged hardware, or scheduling regional service like saratoga springs garage door repair or suburban motor service through garage door repair framingham ma, understanding these foundational mechanics makes troubleshooting effortless.
Pre-Programming Inspection, Compatibility Checks, and Safety Guidelines
Working around motorized overhead doors requires basic safety awareness. While programming a wireless remote is an electrical task rather than a mechanical overhaul, you will need to stand beneath the motor rail assembly to reach the rear control panel. Always work from a stable step ladder and keep hands, hair, and clothing away from overhead chains, belts, and moving pulleys.
Safety Warning Regarding High-Tension Components: High-tension hardware such as torsion springs, counter-balance cables, bottom brackets, and winding cones store tremendous mechanical force capable of causing severe injury. The U.S. Consumer Product Safety Commission (CPSC) highlights the critical importance of keeping fingers and limbs away from lifting cables and high-tension hardware during any garage door service or troubleshooting. Never attempt to untangle cables or adjust tension mechanisms yourself.
Prepare the following tools and verification items before beginning the programming sequence:
- A sturdy step ladder: Positioned safely to the side or directly under the rear panel of the suspended motor unit.
- Fresh 3V CR2032 lithium battery: Ensured to be correctly seated inside the remote casing with positive (+) polarity facing upward.
- Clear visual line of sight: Ensure the overhead path and the garage door track system are completely clear of vehicles, tools, pets, or family members.
- Antenna positioning check: Verify that the thin antenna wire extending from the motor chassis hangs straight down without being wrapped around metallic conduit or light fixtures.
- LED bulb inspection: Ensure non-shielded, low-cost LED light bulbs are not installed inside the opener light sockets, as cheap LED drivers emit intense radio frequency noise that blocks remote signals.
How to Program a LiftMaster 893LM Remote: Step-by-Step Guide
Follow these sequential instructions to synchronize your 3-button LiftMaster 893LM visor remote control with your Security+ 2.0 garage door opener. Complete each step deliberately without rushing, making sure you stay within the timed programming intervals.
Step 1: Position a Sturdy Step Ladder and Clear the Area
Set up your step ladder securely beneath or alongside the ceiling-mounted garage door motor housing. Climb up so that you can comfortably reach the rear or side control panel of the unit without stretching awkwardly. Inspect the path beneath the door and clear away any obstacles. Ensure the thin hanging wire antenna attached to the rear panel hangs straight down toward the garage floor to maximize signal reception range.
Step 2: Access the Logic Board Control Panel
Remove or flip open the protective plastic light lens cover that shields the logic board controls on the back or side of the motor chassis. Depending on your opener model, you may need to press down on side release tabs to swing the translucent lens cover open. Wipe away any dust or cobwebs gathered around the circuit board interface to ensure clear visibility of the programming controls and diagnostic lights.
Step 3: Press and Release the Yellow Learn Button
Locate the small, round Yellow Learn button situated next to the diagnostic light-emitting diode (LED) on the control circuit board. Press and immediately release this yellow button once. Do not hold the button down; holding the learn button continuously for more than six seconds will completely erase all stored remote codes, keypads, and vehicle links from the opener memory. Upon releasing the button, the diagnostic LED light will illuminate solid yellow for approximately 30 seconds.
Step 4: Transmit the Signal from Your 893LM Remote
Within 30 seconds of pressing the yellow learn button, take your handheld 893LM transmitter and select the specific button you wish to program for this garage door. Press and hold that single button down firmly. The remote's tiny LED indicator light will glow red or blue to show active signal transmission across Security+ 2.0 frequency bands.
Step 5: Confirm Pairing via Motor Lights or Relay Clicks
Continue holding the remote button down until you see the main overhead opener light bulbs flash on and off once. If light bulbs are not installed or are currently burned out, listen closely for two distinct clicking sounds produced by the logic board relays inside the overhead motor chassis. As soon as the lights flash or the relays click, release the remote button immediately to store the unique frequency code into the receiver memory.
Step 6: Test Remote Operation and Door Travel
Step down safely from the ladder and walk outside the garage opening, standing several feet back from the threshold. Press the newly programmed remote button once to command the door to close or open. Verify that the drive mechanism operates smoothly across the full range of travel without unexpected stops, hesitation, or signal drops.
Post-Programming Care and Range Optimization Tips
Once your LiftMaster 893LM remote is successfully synced, maintaining proper signal range and mechanical health ensures hassle-free operation for years to come. Electronic transmitters and mechanical garage hardware work together as a single integrated system; caring for both components prevents frustrating sudden lockouts or erratic door behavior.
Keep these essential post-programming optimization tips in mind for long-term reliability:
- Monitor Coin-Cell Battery Health: Replace the internal CR2032 lithium battery every 12 to 18 months, or sooner if you notice a gradual reduction in the distance from which the remote activates the door. Cold New England winters accelerate battery drain.
- Eliminate Radio Frequency Noise: If remote range suddenly drops from dozens of feet down to standing directly under the door, inspect recent electrical additions. Common sources of RF signal jamming include cheap aftermarket LED headlight chargers, wireless security cameras, or non-compatible LED bulbs installed in the motor chassis light sockets. Use garage-door-rated LED bulbs designed specifically to inhibit interference.
- Proper Mechanical Lubrication: Never attempt to lubricate the inside of the garage door track system channels, as greased track channels attract abrasive dust, debris, and road salt, causing rollers to slip rather than roll smoothly. Learn more about proper roller upkeep in our garage door track maintenance guide. Apply high-quality silicone or lithium spray sparingly to moving bearings, metal rollers, and steel hinges twice a year.
- Protect Transmitters from Temperature Extremes: Avoid leaving visor remotes exposed to direct dashboard sunlight or freezing sub-zero cabin temperatures overnight in mid-winter. Storing remotes in extreme heat or cold drains internal battery reserves prematurely and can stress solder joints on the small circuit board.
Troubleshooting Signal Errors and When to Call a Professional
While programming an 893LM transmitter is generally straightforward, persistent electronic or mechanical failures require technical expertise. If the diagnostic LED on your motor chassis blinks rapidly during a pairing attempt, it indicates an internal logic error, memory capacity limit, or frequency mismatch. Furthermore, if your opener motor runs and hums upon pressing the synced remote but the door fails to move physical hardware, you likely face structural issues such as broken torsion springs, snapped cables, or an off-track garage door track system.
Attempting to force an overhead door to open when hardware is bound or damaged can burn out the drive gear, strip drive belts, or snap lifting cables under high tension. If your programming attempts fail repeatedly, or if you hear grinding noises from the motor, turn to experienced professionals for safe, reliable service across the region. When you need expert help with opener diagnostics, hardware replacement, or emergency service, turn to our team for reliable garage door opener repair and comprehensive garage door repair boston homeowners rely on daily.
Our experienced technicians at Prime Garage Doors arrive with fully stocked utility vehicles carrying genuine LiftMaster logic boards, receivers, smart wall controls, and heavy-duty replacement hardware. We inspect your complete system to identify whether issues stem from wireless interference, logic board failure, or mechanical binding along the door travel path. Schedule Service or Request a Free Estimate to speak directly with an experienced professional today.
Summary: Mastering Your LiftMaster 893LM Setup
Programming a LiftMaster 893LM 3-button remote control is a simple maintenance task that enhances vehicle convenience and home security when done correctly. By matching your Security+ 2.0 transmitter with a yellow learn button opener and testing for signal obstacles, you can enjoy seamless wireless entry year-round.
- Verify opener compatibility with a round Yellow Learn button and Security+ 2.0 technology.
- Press and release the yellow learn button once without holding it down.
- Press and hold the chosen remote button within 30 seconds until the opener lights flash.
- Avoid installing non-shielded LED light bulbs in the opener motor housing to prevent signal blockage.
- Keep moving hinges, rollers, and bearings lubricated, but never grease the inside of the garage door track system.
If your garage door opener refuses to program, exhibits short range, or suffers from mechanical hardware failure, do not take unnecessary safety risks. Contact Prime Garage Doors at (844) 321-0914 for same-day service available across Greater Boston. Call Now or Request a Free Estimate to get your garage door operating safely and smoothly today.
Frequently asked
- How do I know if my garage door opener is compatible with the LiftMaster 893LM remote?
- The LiftMaster 893LM transmitter works exclusively with garage door openers manufactured after 2011 that feature a round yellow learn button and rigid yellow antenna wire. If your overhead motor chassis has a purple, red, orange, or green learn button, it will not communicate with this Security+ 2.0 model. In those cases, you will need a universal transmitter or alternative model compatible with your logic board.
- Why do the main opener lights flash when programming the remote?
- The main overhead light bulbs flash once to signal that the logic board has successfully received and saved the remote's encrypted rolling code. If light bulbs are not installed in the motor chassis, you will hear two distinct clicking sounds from the internal relay board instead. Once you see the flash or hear the clicks, you can release the remote button and test the door.
- Why did all of my programmed remotes stop working after I pressed the learn button?
- Holding down the yellow learn button continuously for more than six seconds completely clears the opener memory, erasing all stored remotes, keypads, and vehicle links. To pair a single transmitter, press and immediately release the yellow learn button so the diagnostic LED illuminates solid. If memory was wiped accidentally, each handheld remote and wireless accessory must be reprogrammed individually.
- Can LED light bulbs interfere with my LiftMaster 893LM signal range?
- Yes, unshielded or low-cost LED light bulbs installed in the motor housing light sockets emit strong radio frequency interference that reduces remote range. Additionally, cold New England winter temperatures lower the voltage output of standard CR2032 lithium batteries, further degrading signal strength. Installing garage-door-rated LED bulbs and replacing the remote battery every 12 to 18 months will maintain maximum signal range.
- Should I apply grease inside the garage door track system to fix noisy door operation?
- No, you should never lubricate the inside of the garage door track system channels because heavy grease attracts abrasive dust, debris, and road salt that cause rollers to slip rather than roll. Instead, apply a high-quality silicone or lithium spray sparingly only to moving bearings, metal rollers, and steel hinges twice per year. Clean, ungreased track channels allow rollers to glide freely along the travel path.