Maintenance
How-to guideHow to Program LiftMaster Keychain Remote in 4 Easy Steps
September 17, 2026 · Prime Garage Doors
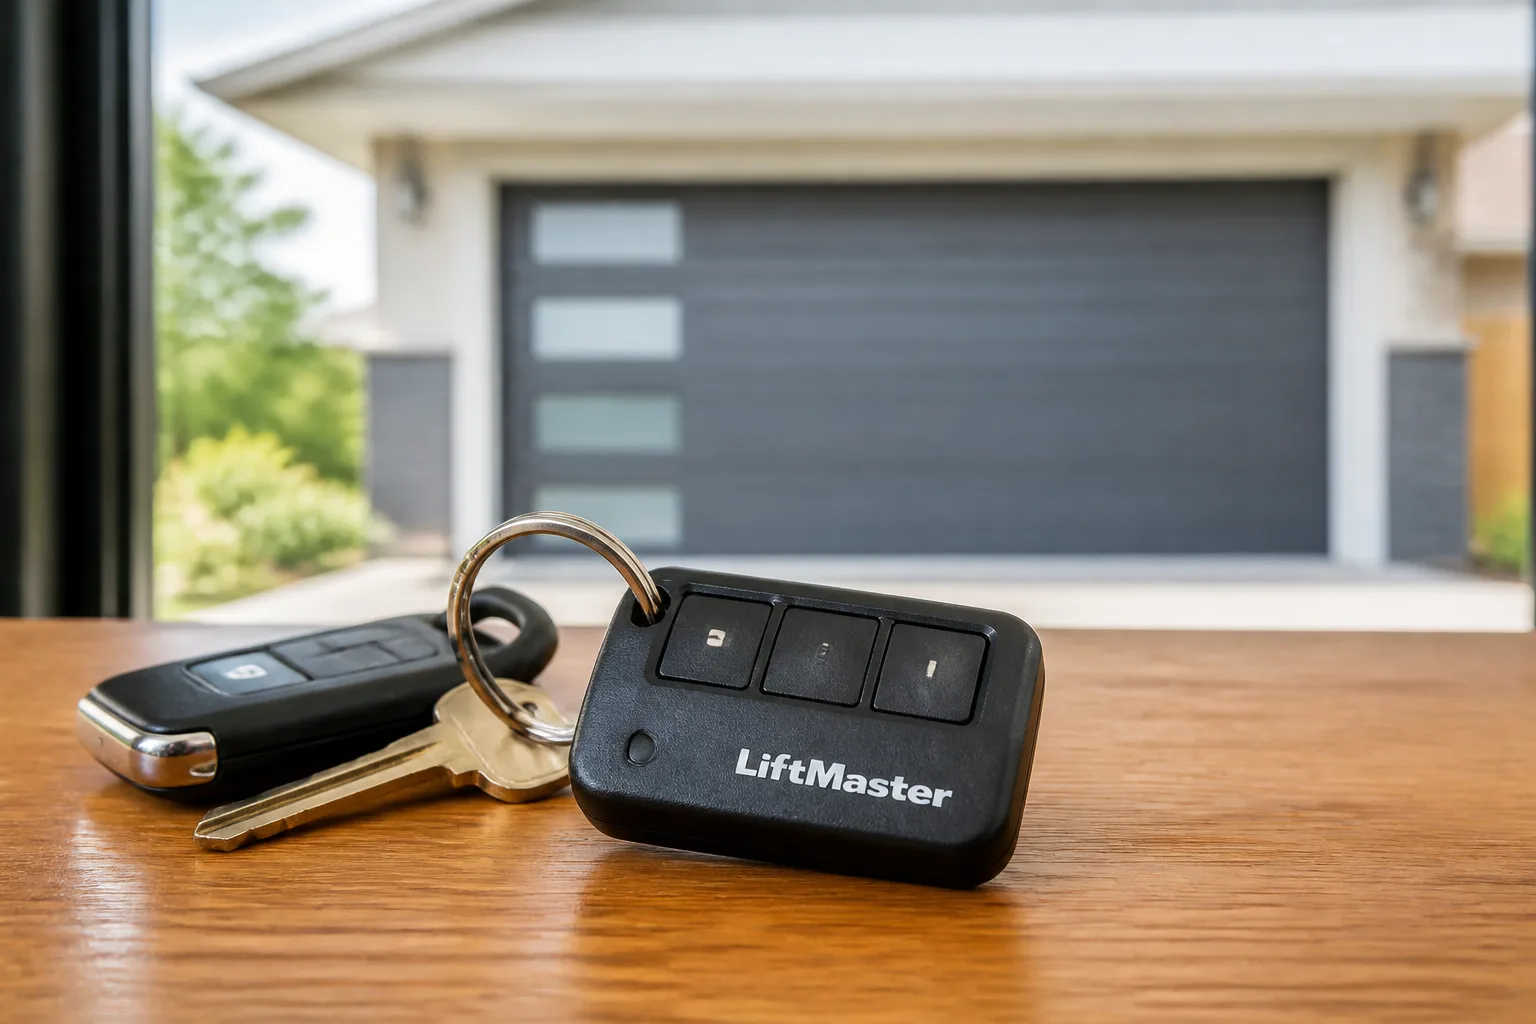
Want hands-free convenience on the go? Learn how to program a LiftMaster keychain remote (like the 890MAX) using your wall button or overhead motor unit in minutes.
Programming a LiftMaster keychain remote requires placing the mini transmitter into setup mode with a pin tool, putting the garage door opener logic board into Learn mode, and matching your button presses to your opener color code. Once the overhead motor light flashes to confirm signal transmission, pressing a secondary button locks the sequence into memory. Following these steps restores quick access to your home while maintaining modern rolling-code security.
Understanding LiftMaster Mini Remotes and Radio Frequencies
Compact keychain remotes offer reliable daily convenience for homeowners across Greater Boston. Whether kept on a key ring or stored inside a bag, mini transmitters provide the advanced protection of Security+ and Security+ 2.0 rolling-code technologies. Because keychain clickers feature recessed housing buttons designed to prevent accidental presses while carried in a pocket, their programming sequence uses a slightly different setup procedure than standard sun-visor remotes.
Models such as the LiftMaster 890MAX or 374UT communicate across multiple radio frequencies. They pair with modern residential garage door openers manufactured by LiftMaster, Chamberlain, and Craftsman. To program your device correctly, you must first identify your overhead opener's radio frequency. This frequency is determined by the color of the square or round Learn button located on the overhead motor housing or wall control panel.
LiftMaster motor units feature specific color-coded Learn buttons that indicate their internal circuit board type:
- Yellow Learn Button: Operates on Security+ 2.0 tri-band frequencies (310, 315, and 390 MHz). These units were manufactured after 2011 and typically feature straight yellow antenna wires.
- Purple Learn Button: Operates on Security+ 315 MHz rolling-code technology. These units were manufactured between 2005 and 2011.
- Orange or Red Learn Button: Operates on Security+ 390 MHz rolling-code technology. These units were produced between 1997 and 2005.
- Green Learn Button: Operates on 390 MHz Billion Code technology. These units were produced between 1993 and 1997.
New England weather patterns can also impact how wireless transmitter controls perform over time. Cold winter freezing snaps, coastal salt moisture, and heavy summer humidity place strain on small coin-cell batteries inside mini remotes. Understanding how your overhead receiver board interacts with your remote helps maintain seamless vehicle entry throughout every season.
Pre-Programming Checks, Safety Precautions, and Needed Tools
Before beginning the programming steps, perform a brief inspection of your remote and motor area to make sure everything is ready. Addressing weak batteries or obstruction issues beforehand prevents unexpected setup delays.
Safety Note: Overhead garage door systems rely on heavy components under high tension, including torsion springs, extension springs, lift cables, and lower brackets. The U.S. Consumer Product Safety Commission (CPSC) warns that high-tension assembly parts pose physical risks if struck or tampered with. Always keep children, pets, and vehicles completely clear of the garage door path during any testing or programming procedure.
Gather the following tools and verify these basic preparation items before starting:
- Small pin tool: A sturdy paperclip, safety pin, or the metal key pin provided with your mini remote.
- Step stool or ladder: A stable ladder to reach the overhead motor housing safely if you are accessing the Learn button directly on the motor casing.
- Fresh coin-cell battery: Ensure your keychain remote battery has adequate power. Most mini remotes use a standard 3V lithium coin cell.
- Clear door pathway: Verify that the space underneath the garage door is completely free of tools, trash cans, or vehicle bumpers.
- Opener Learn button access: Locate your smart wall control panel or swing down the light lens cover on your overhead motor unit to reveal the colored Learn button.
How to Program a LiftMaster Keychain Remote Step by Step
Follow these sequential steps to put your mini transmitter into programming mode, sync the signal with your motor logic board, and save the code into memory.
Step 1: Put the Keychain Remote into Setup Mode
Examine the plastic casing of your LiftMaster mini remote to locate the small recessed pinhole switch. This pinhole is typically located on the side edge, back cover, or bottom seam of the remote shell. Insert your paperclip or pin tool straight into the opening until you feel a firm internal button click. Press and hold the pin down until the small LED indicator light on the front of the remote turns on solid, then remove your pin tool. The remote light will stay lit to confirm it is actively broadcasting in programming mode.
Step 2: Put Your Garage Door Opener into Learn Mode
You can activate Learn mode either from a smart wall control panel inside your garage or directly on the overhead motor housing. If using a smart wall panel, navigate through the menu to program options and select remote setup. If accessing the overhead motor unit directly, climb your step stool and press the colored, square Learn button once, then release it immediately. Do not hold the button down, as holding it clears stored memory. The small indicator light next to the Learn button will glow steadily for 30 seconds.
Step 3: Sync Your Preferred Keychain Remote Button
During the active 30-second window, select the specific button on your keychain remote that you want to operate your door. Press and release that chosen button repeatedly, pausing briefly between each press, matching your total press count to your Learn button color:
- Press 1 time: For a Yellow Learn Button (Security+ 2.0).
- Press 2 times: For a Purple Learn Button (Security+ 315 MHz).
- Press 3 times: For an Orange or Red Learn Button (Security+ 390 MHz).
- Press 4 times: For a Green Learn Button (Billion Code).
Stop pressing the remote button immediately when the overhead lights on the motor unit flash or you hear two distinct clicking sounds from the internal logic board.
Step 4: Lock the Programming Code into Remote Memory
To confirm and lock the programming settings, press any other button on the keychain remote that you did not just assign to the garage door. This locks the frequency configuration into the transmitter and causes the solid LED indicator on the mini remote to turn off. Your remote has now successfully exited setup mode and is saved into your motor's memory board.
Step 5: Test Remote Operation and Door Movement
Stand inside your garage at a safe distance clear of all moving parts. Press your newly programmed remote button. The motor unit should engage immediately, moving the door smoothly along the garage door track system to its fully open or closed position. Pressing the button again during travel should stop or reverse door direction without hesitation.
Maintenance and Technical Troubleshooting After Setup
If your keychain remote stops responding or operates intermittently after setup, standard routine maintenance usually resolves common frequency and power issues. If you troubleshoot a garage door opener not working properly, keeping electronic components clean and mechanical hardware aligned prevents unexpected service disruptions.
Review these troubleshooting steps if your remote experiences signal dropouts:
- Battery Replacement: Severe winter temperatures degrade small coin-cell batteries quickly. If the LED light on your remote flickers weakly or fails to turn on solid during setup, open the plastic casing and replace the battery, ensuring the positive (+) side faces up.
- Clearing Receiver Memory: Opener logic boards hold a limited number of remote codes. If your receiver board is full, press and hold the colored Learn button on the overhead unit for roughly 6 seconds until the indicator light goes out. This erases all stored remotes, keypads, and built-in car buttons so you can re-program your primary devices.
- Eliminating LED Signal Interference: Standard retail LED light bulbs installed inside the motor housing can emit radio frequency interference that reduces remote range. Replace non-shielded LED bulbs with garage-door-rated LED bulbs or traditional incandescent bulbs to prevent signal blocking.
- Hardware Maintenance: Keep door components running smooth to avoid motor strain. Apply a silicone or lithium garage door lubricant to moving bearings, rollers, and hinges. Never apply lubricant inside the garage door track system channels, as oil buildup traps dust and causes the rollers to slide rather than turn.
When Mechanical or Electronic Issues Require Professional Help
Programming issues are sometimes caused by underlying logic board faults, broken antenna wires, or heavy mechanical friction. If your overhead motor clicks but the door fails to lift, your door system may suffer from broken torsion springs, binding rollers, or snapped lift cables. High-tension overhead door hardware should never be adjusted without professional training and proper tools.
When remote programming resets fail to restore proper door operation, having an experienced professional evaluate your system keeps your home safe and accessible. If you need assistance to fix garage door opener receiver boards or repair binding hardware, experienced technicians quickly locate electrical glitches and structural wear. Our team regularly assists homeowners who need professional garage door opener repair and provides complete service across neighboring communities, including garage door repair framingham ma. We also serve property owners who need local service such as saratoga springs garage door repair.
Whether you need logic board replacements, torsion spring repair, cable re-spooling, or new opener installations, experienced garage door professionals bring the right tools to handle every overhead door component safely. Request a Free Estimate to restore your system's performance.
Summary of LiftMaster Keychain Remote Setup
Programming your LiftMaster keychain remote is a straightforward process: enter programming mode on the mini remote using a pin tool, activate Learn mode on your opener housing or wall panel, press your selected remote button according to your Learn button color, and press an unassigned button to lock the code into memory. Keeping your remote battery fresh and maintaining lubricated hardware helps your access controls operate reliably year-round.
- Mini remotes use a recessed pinhole button to initiate transmitter programming mode.
- Opener Learn button colors (Yellow, Purple, Orange/Red, Green) dictate the required remote button press count.
- Always keep the doorway completely clear of people, pets, and vehicles during programming tests.
- Lubricate moving bearings, rollers, and hinges regularly, but never oil the inside of the garage door track system channels.
If your garage door opener continues to drop remote programming, shows signs of spring strain, or fails to open smoothly, contact Prime Garage Doors at (844) 321-0914. Our experienced professionals offer free estimates and same-day service available to keep your overhead door system operating safely. Schedule Service today to get your door working perfectly.
Frequently asked
- How do I find the Learn button on my LiftMaster garage door opener?
- The Learn button is located on the back or side panel of your overhead motor unit, often near the antenna wire or beneath the light lens cover. LiftMaster openers feature a colored square or round button that is yellow, purple, orange, red, or green. Identifying this color tells you how many times to press your keychain remote button during setup.
- Why is my LiftMaster keychain remote LED light not turning on?
- If the LED light on your keychain transmitter fails to illuminate, the internal coin-cell battery may be dead or improperly seated. Cold weather can drain these small batteries quickly, so installing a fresh coin battery often resolves the issue. Once a working battery is installed, holding the recessed program button will turn the LED on solid.
- Will pressing the Learn button erase all my existing remotes?
- Pressing and immediately releasing the Learn button once will put the opener into pairing mode without clearing existing devices. However, holding the Learn button down continuously for around six seconds erases all stored remotes and keypads from memory. If you accidentally clear the memory board, every remote and keypad will need to be re-programmed.
- What should I do if the garage door opener lights do not flash during remote programming?
- If the overhead opener lights do not flash, listen closely for two distinct clicking sounds from the motor unit's logic board to confirm pairing. You should also verify that the light bulbs inside the motor housing are fully functional and properly installed. If there is no click or light flash, retry the programming sequence closer to the antenna wire.
- How does door hardware maintenance affect remote performance?
- If your garage door binds or drags along the garage door track system, the opener motor may pause or reverse even when receiving a strong remote signal. Regular maintenance keeps the door moving smoothly so the motor operates without unnecessary resistance. For routine care, lubricate only moving bearings, rollers, and hinges, and never apply lubricant inside the track channels.