
Maintenance
How-to guideGarage Door Repair Near Me Within 5 Mi: A Homeowner Guide
August 28, 2026 · Prime Garage Doors
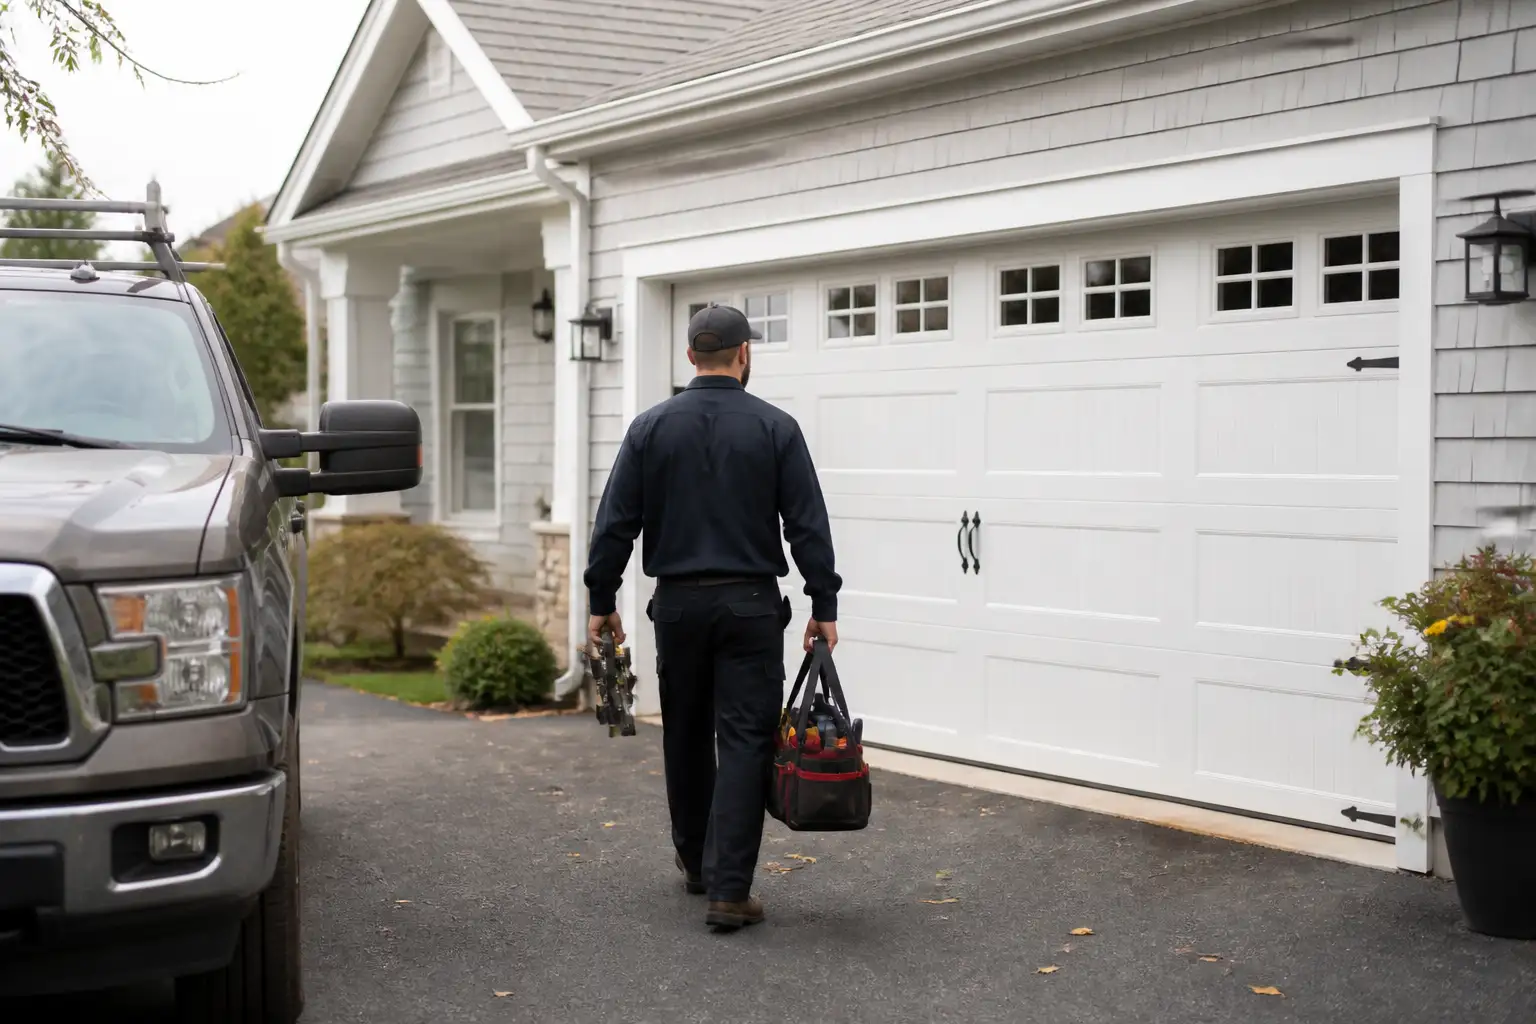
When a garage door fails unexpectedly, finding reliable service nearby can help restore access and security quickly. This guide explains what to check before searching for garage door repair near me within 5 mi and when professional service is necessary. 5. EXPERT:
Finding fast garage door repair near me within 5 mi gives Greater Boston homeowners a direct way to address sudden operational failures and keep their properties secure. Simple visual troubleshooting can help you identify common power interruptions, obstructed safety sensors, or depleted remote batteries without putting yourself in harm's way. When mechanical hardware wears out or structural components shift, knowing how your door functions helps you manage basic issues and recognize when experienced professionals are required.
Understanding Overhead Garage Door Hardware and System Mechanics
An automatic residential garage door is the largest and heaviest moving mechanical system in most modern homes across Greater Boston, including communities like Watertown, Cambridge, Somerville, and Newton. The complete assembly relies on a synchronized network of mechanical, structural, and electrical components to raise and lower heavy panel sections smoothly multiple times each day. An electric opener motor drives a steel-reinforced belt or heavy chain along a central rail. This driving force works alongside high-tension counterbalance springs, steel lift cables, corner brackets, panel hinges, roller wheels, and a rigid garage door track system. When every component is properly installed and aligned, the physical weight of the door panels is balanced, allowing the opener motor to lift the assembly with minimal mechanical resistance.
However, when an individual hardware component experiences severe wear, structural bending, or unexpected breakage, the functional balance of the entire system fails. Minor friction inside a worn roller bearing or a slight bend in the garage door track system forces the opener motor to push against immense resistance. Over time, operating an overhead door under these compromised conditions leads to stripped motor gears, burned electrical circuits, or severe mechanical jams.
New England weather puts continuous physical stress on residential overhead door hardware throughout the changing seasons. Sharp temperature drops during winter cold snaps cause metal components to contract rapidly. Extreme cold combined with intense mechanical strain makes steel torsion springs and lift cables vulnerable to sudden snapping, which is why garage door springs break during frozen winter mornings. Winter driving also introduces road salt, slush, and excess runoff into the garage space. This corrosive moisture splashes onto bottom corner brackets, lower vertical sections of the garage door track system, and lower roller bearings, accelerating rust formation and causing mechanical binding.
In contrast, humid summer conditions cause structural timber framing around the garage opening to swell slightly. Expanding door jambs and shifting wood trim can push delicate optical safety sensors out of physical alignment or exert lateral force against the garage door track system. Identifying how regional climate conditions impact your door hardware allows you to catch minor issues early before a sudden failure leaves your vehicle trapped inside.
Operational Warning Signs, High-Tension Safety, and Diagnostic Tools
Overhead garage door assemblies store substantial amounts of potential mechanical energy. The counterbalance system—composed of high-tension torsion springs, extension springs, lift cables, cable drums, and bottom corner brackets—is held under intense tension to offset hundreds of pounds of door weight. Visual inspections require a strict understanding of which components are safe to observe and which demand specialized repair.
According to safety warnings from the U.S. Consumer Product Safety Commission (CPSC), hardware under active mechanical tension, particularly counterbalance springs, steel cables, and lower corner brackets, presents severe impact and entangling hazards. Attempting to loosen, adjust, or disassemble hardware under active tension can trigger sudden component release and cause severe physical injuries. Always rely on an experienced garage door professional for high-tension repairs, including spring replacement, cable re-spooling, or structural track adjustment.
To safely perform a visual inspection of your garage door system, gather these basic household tools:
- LED Flashlight: For illuminating dark ceiling corners, checking motor chassis diagnostic LEDs, and inspecting the inner channels of the garage door track system.
- Clean Microfiber Cloth: For gently wiping dust, cobwebs, and salt haze off optical safety lenses and dry track surfaces.
- Fresh Replacement Batteries: Standard household batteries to test remote control transmitters and wireless keypad responsiveness.
- Step Stool: For visually inspecting ceiling-mounted electrical outlets, overhead wiring, and motor housing indicators safely from floor level.
Pay close attention to these common visual and operational warning signs that signal hardware stress or component failure:
- The overhead garage door sits noticeably unlevel or crooked within its structural frame.
- A steel lift cable appears frayed, slack, detached from the bottom corner bracket, or thrown from the cable drum.
- There is a visible physical gap between the coils of the horizontal torsion spring mounted above the door header.
- One or more roller wheels have pulled out of the steel garage door track system channels.
- The opener motor hums or runs continuously, but the door panels remain stationary.
- The door lowers partially, stops unexpectedly, reverses direction, and the opener lights flash repeatedly.
- A loud popping or banging sound occurred inside the garage during door operation.
How to Safely Troubleshoot a Stuck Garage Door Step by Step
When your garage door won't open or close properly, follow these safe diagnostic steps to isolate simple electrical glitches and optical obstructions without touching high-tension springs or lift cables.
Step 1: Verify electrical power to the overhead opener motor
Begin by verifying that the overhead opener motor unit is receiving electrical power from your home. Confirm that the main power cord is fully seated in the ceiling outlet and look for active diagnostic LEDs or display lights on the motor chassis. If the unit shows no illumination or response, inspect your main electrical panel for a tripped circuit breaker assigned to the garage branch circuit.
Reset the circuit breaker once. If the breaker trips again immediately when activated, stop troubleshooting. Persistent breaker tripping indicates an internal short circuit or motor hardware failure that requires professional electrical diagnosis.
Step 2: Clean the optical safety sensor lenses
Locate the two photo-eye safety sensors positioned on opposite sides of the door opening near the floor. These safety devices project an invisible infrared beam across the threshold to prevent the door from closing on vehicles, pets, or objects. Accumulated dust, spiderwebs, lawn debris, or road salt haze on the lenses can block the infrared light signal, causing the door to reverse and flash its lights automatically.
Use a dry microfiber cloth to wipe the optical lenses clean on both the sending and receiving units. Clear away any trash cans, storage boxes, or garden tools stored near the lower section of the garage door track system that might obstruct the optical beam.
Step 3: Align misaligned safety sensor mounting brackets
Observe the indicator lights located on the exterior housing of both safety sensors. Under normal operating conditions, the sending sensor displays a steady light and the receiving sensor displays a solid indicator light. If either light is blinking, dim, or completely off, the sensors are out of physical alignment.
Loosen the thumb screw or mounting bracket fastener by hand. Gently adjust the sensor bracket position until both indicator lights glow steadily without flickering. Once aligned, hand-tighten the bracket fastener securely to prevent movement during door operation.
Step 4: Test remote control batteries and check wall console lock controls
If your garage door operates normally when using the interior wall push button but fails to respond to handheld remotes or outdoor keypads, the issue involves wireless signal transmission. Open the battery compartment of your remote control, replace the batteries with fresh ones, and test operation from several paces away in the driveway.
Next, inspect the interior wall station inside the garage. Many modern wall consoles feature a manual switch or button labeled "Lock" or "Vacation." If this feature was engaged accidentally, it blocks all incoming remote radio signals while allowing the wired wall button to function. Slide the switch back to the unlocked position to restore remote functionality.
Step 5: Inspect and clear the garage door track system
With the garage door fully closed and motionless, use an LED flashlight to inspect the vertical and horizontal sections of the garage door track system. Search for small stones, hardened mud, salt buildup, or dropped fasteners lodged inside the track channels that could impede smooth roller movement.
Wipe the interior surfaces of the garage door track system channels with a clean rag to remove loose debris. Never apply thick grease inside the track channels, as heavy grease traps grit and causes roller wheels to slide rather than roll cleanly. If you detect bent, twisted, or severely dented track sections, do not attempt to hammer or reshape them yourself.
Step 6: Inspect door section hinges and roller mounting hardware
Perform a thorough visual check of the stamped metal hinges connecting the individual door panel sections, as well as the roller brackets along the outer edges of the door. Ensure that all visible attachment bolts and screws are seated flush against the door sections. Loose hardware can cause panel sections to bind, sag, or vibrate excessively during travel.
If you observe cracked door panels, stripped hinge screws, or damaged structural reinforcement struts, avoid operating the automated opener. Attempting to move a door section with structural damage exerts uneven torque on the garage door track system and can force rollers to pull free from the tracks entirely.
Preventive Maintenance Tips for Overhead Garage Doors
Regular preventive care minimizes daily mechanical wear, reduces the likelihood of sudden equipment failure, and provides a path to quick garage door repair prevention. Homeowners throughout Greater Boston can keep their door assemblies running smoothly by establishing simple maintenance habits:
- Lubricate Moving Hardware Properly: Apply a light spray of silicone or white lithium lubricant directly onto moving bearings, rollers, and metal hinges twice a year. Always ensure that only moving bearings, rollers, and hinges get lubricated—never lubricate the inside of the track channels. Keeping the track channels clean and dry prevents dirt buildup and mechanical binding.
- Keep Track Channels Clean: Clean out dust, grit, and road salt mist from the garage door track system using a dry rag during spring and autumn. Clean channels allow roller wheels to turn freely without skidding.
- Inspect Fasteners and Brackets: Visually inspect hinge screws and roller bracket bolts periodically. Vibration from regular operation can gradually loosen mounting hardware over time.
- Maintain Floor Clearance: Keep the garage floor threshold clear of ice, mud, and debris to protect the bottom rubber seal from tearing or freezing to the concrete.
When to Call a Professional Garage Door Technician
While visual checks and basic cleaning can resolve minor issues, critical mechanical failures demand professional intervention. Components under high mechanical tension—such as torsion springs, extension springs, lift cables, cable drums, and bottom corner brackets—should only be serviced by trained professionals. Attempting DIY repairs on high-tension parts or trying to force an off-track door back into place creates significant safety hazards and can inflict severe damage on your door system.
If your overhead door has a broken spring, frayed lift cables, damaged panels, or has pulled out of the garage door track system, turn to the experienced team at Prime Garage Doors. Based out of Watertown, MA 02472, our experienced professionals service residential and commercial door systems across Greater Boston. We provide free estimates, 24/7 phone support at (844) 321-0914, and same-day service availability to resolve urgent operational failures promptly.
When you need reliable support from a trusted service team, Request a Free Estimate or Call Now to speak with our technicians today.
Summary of Overhead Garage Door Troubleshooting
Maintaining a safe and reliable overhead garage door requires understanding how electrical inputs, safety sensors, and mechanical hardware work together. By conducting simple visual checks on power connections, remote batteries, optical sensors, and hardware cleanliness, homeowners can address basic issues safely while knowing when high-tension components require professional service.
- Verify electrical outlets, circuit breakers, and remote control batteries before assuming a major opener failure.
- Keep photo-eye safety sensor lenses clean and properly aligned to ensure smooth automated operation.
- Clean the interior channels of the garage door track system with a dry cloth, and remember that only moving bearings, rollers, and hinges get lubricated—never lubricate the inside of the track channels.
- Never attempt to adjust, loosen, or repair high-tension counterbalance springs, lift cables, or bottom brackets without professional equipment.
If your overhead door requires expert repair or mechanical realignments, Request a Free Estimate or Call Now at (844) 321-0914 to connect with the experienced professionals at Prime Garage Doors.
Frequently asked
- What should I check before calling for garage door repair?
- Homeowners can safely check basic components like the power source to the opener, remote control batteries, safety sensor alignment, and visible track obstructions. Make sure the safety sensors are clean and free of debris or cobwebs. If these simple steps do not resolve the issue, avoid forcing the door and contact a technician for assistance.
- Can I replace a broken garage door spring myself?
- No, homeowners should never attempt to replace or adjust garage door springs themselves. Springs are under extreme mechanical tension and can cause severe injury or property damage if handled improperly. If you suspect a broken spring, keep everyone clear of the door and contact an experienced professional.
- Why is my garage door remote control not working?
- The most common cause of a single non-responsive remote is a dead battery, which you can easily replace yourself. However, if the wall control works but multiple remotes fail simultaneously, the issue may involve the opener receiver or electrical logic board. A technician can safely test the system to pinpoint the exact failure.
- What causes a garage door to come off its tracks?
- A garage door can move off its tracks due to snapped lift cables, worn rollers, track obstructions, or physical impact. High mechanical tension remains present in an off-track door, making manual operation unsafe. An experienced professional should evaluate the track system and realign the door safely.
- How do I choose a local garage door repair service?
- Look for a provider with clear service offerings, experienced professionals, and same-day service availability. Choose a company that offers clear evaluations and 24/7 phone support to assist during unexpected door failures. Prime Garage Doors provides free estimates and professional service across Greater Boston.